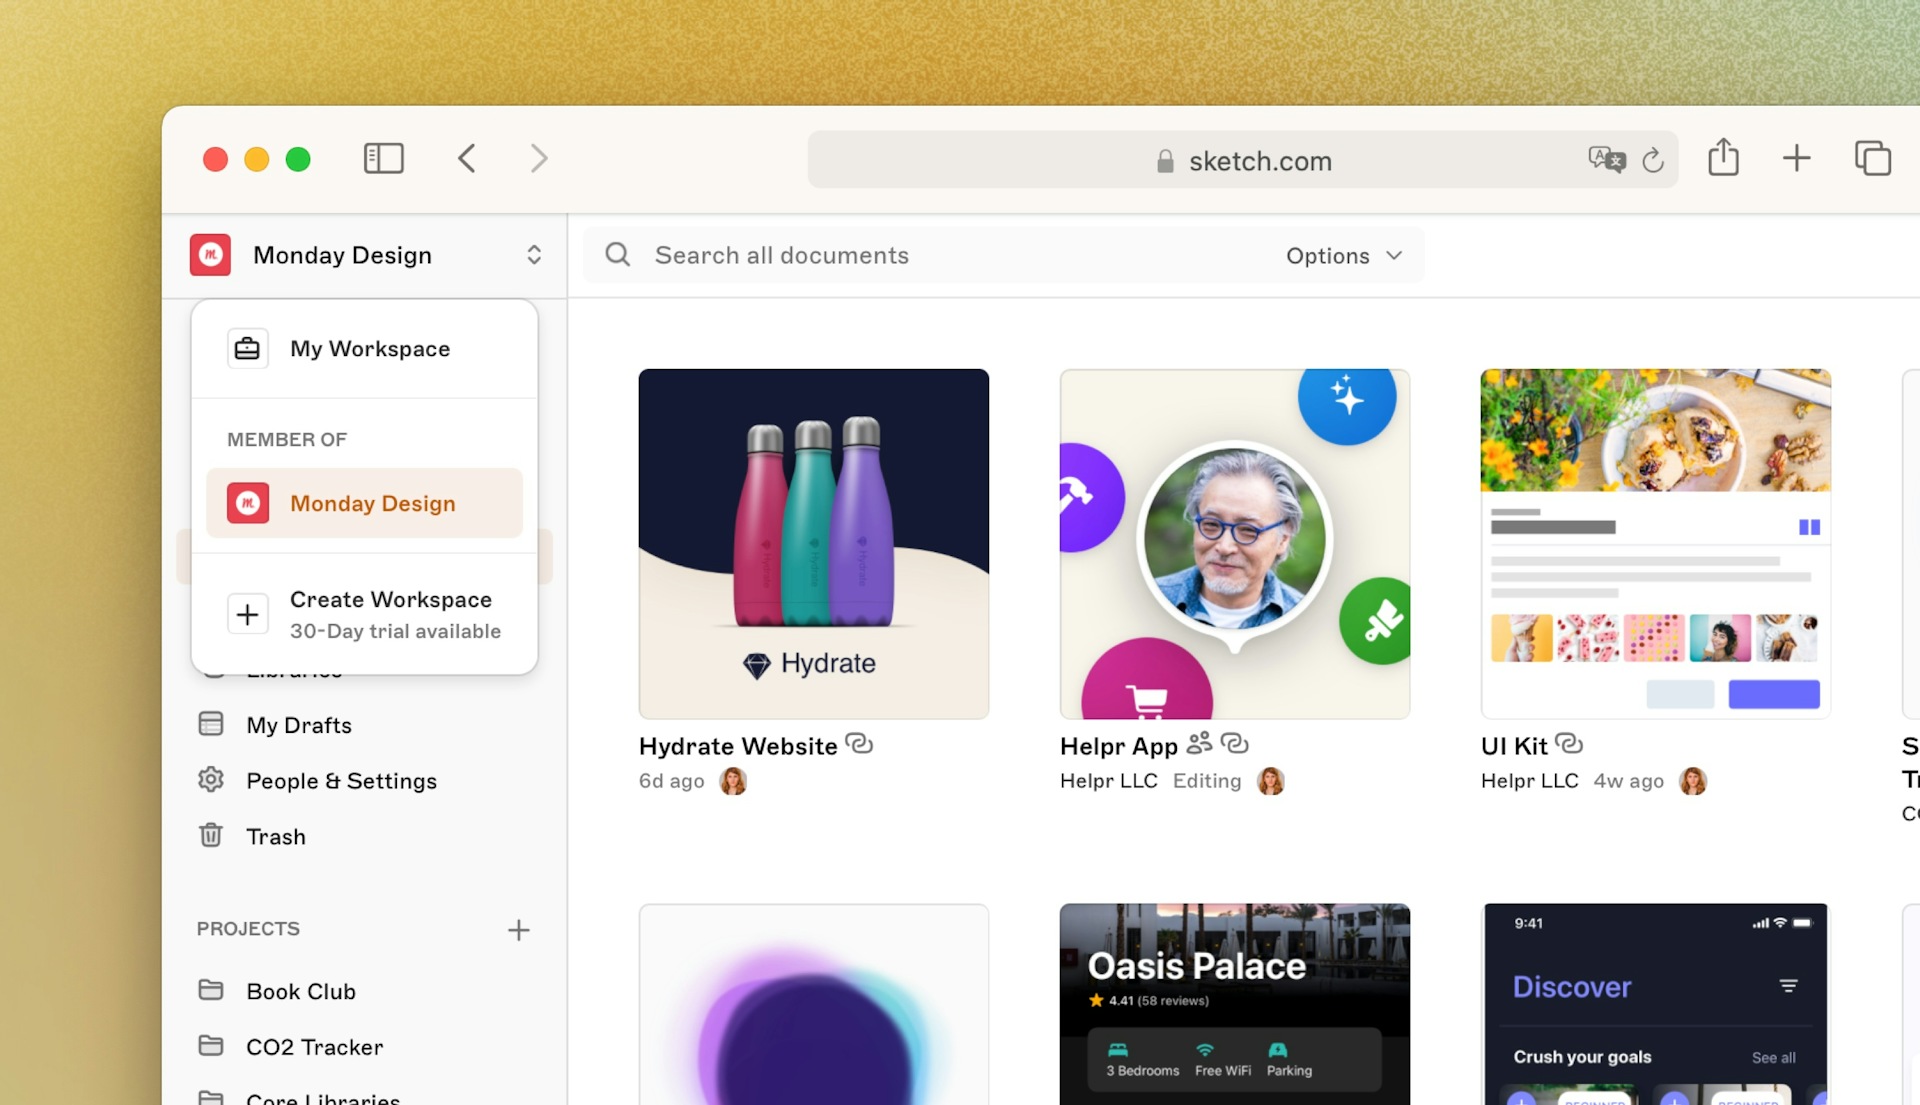
How to create a Workspace
Follow these steps to create your Workspace:
-
Sign up for a Sketch Account. If you want to create a Workspace for your team, we recommend signing up with an email address that’s associated to your company.
If you already have a Sketch Account but want to create a new Workspace sign in to your account, select the Workspace switcher menu in the top-left, choose Create a New Workspace and follow the next steps.
- Name your Workspace and optionally upload a Workspace image. Admins can change the name and logo of your Workspace at any point.
-
Invite people to your Workspace right away by clicking Invite People. Type their email and assign them a role. You can invite people later on if you prefer.
-
Click Start Using Sketch. You will be assigned as an Admin and as an Editor — there must be at least one Editor in your Workspace. You can change your role once you’ve finished setting up your Workspace.
You’ll have 30 days to try Sketch for free without adding your credit card details. To keep using your Workspace after the 30-day trial you’ll need to set up a monthly or annual subscription. If you cancel your subscription before the trial ends, we won’t charge you anything.
From there you can either:
- Download or sign in to the Mac app.
- Add your billing information.
- Or click Continue to the Workspace to head over to your Workspace in the web app.
How to invite people to your Workspace
From your Workspace in the web app, head to the People & Settings section using the link in the left sidebar. By default, this should land you within the People tab of the settings page, if not, choose this from the options to the right of your Workspace’s name. From here:
- Press the Invite Members… button.
- In the modal that appears, enter the email address of the person you’d like to invite to your Workspace.
- Assign an Editor or Viewer role using the drop-down menu next to the email field, then press Add to List.
- Once you are finished adding people to your list, press Add Members.
Once you’ve sent an invite, we’ll show you the name and email of the people you’ve invited along with a Pending badge next to their role. This badge will disappear once they accept the invitation email. We’ll charge you from the date the invite is sent to the member, not when they accept the invite.
You can also add empty Editor seats to your Workspace and assign them later on. Read more about how to add empty editor seats.
Note:
- If you’ve created a Workspace, you’ll be an Editor and Admin by default.
- You can change your role to Viewer, but your subscription will always include the cost of at least one Editor.
- As the Workspace’s creator, you cannot remove your Admin rights.
What can you do next?
Once you are all set, you can:
- Upload documents to your Workspace.
- Share your document with people inside and outside your Workspace.
- If you are an Editor, start designing!
- Browse Discover for a curated selection of articles, resources and inspiration — along with the latest Sketch updates.
Check out our Welcome to Workspaces guide
We’ve created a series of guides to help you make the most of your Workspace: from organizing your files to developer handoff and managing roles and permissions. These are great to introduce yourself to Workspaces but if you want to know more about a specific feature in your Workspace you can always come back to the documentation!


