By default every Editor in your Workspace has edit permissions for every document, but you can restrict editing access for any specific Editors — handy for important documents like your design system’s Libraries.
On this page
To control who can and cannot edit a document, you’ll need to access the document’s Share settings. You can access these via:
- The
button that appears when you hover over a document’s thumbnail.
- The
in the Nav Bar when you’re viewing a document.
- The Share button under the About tab in the sidebar when you’re viewing a document.
Managing editing rights
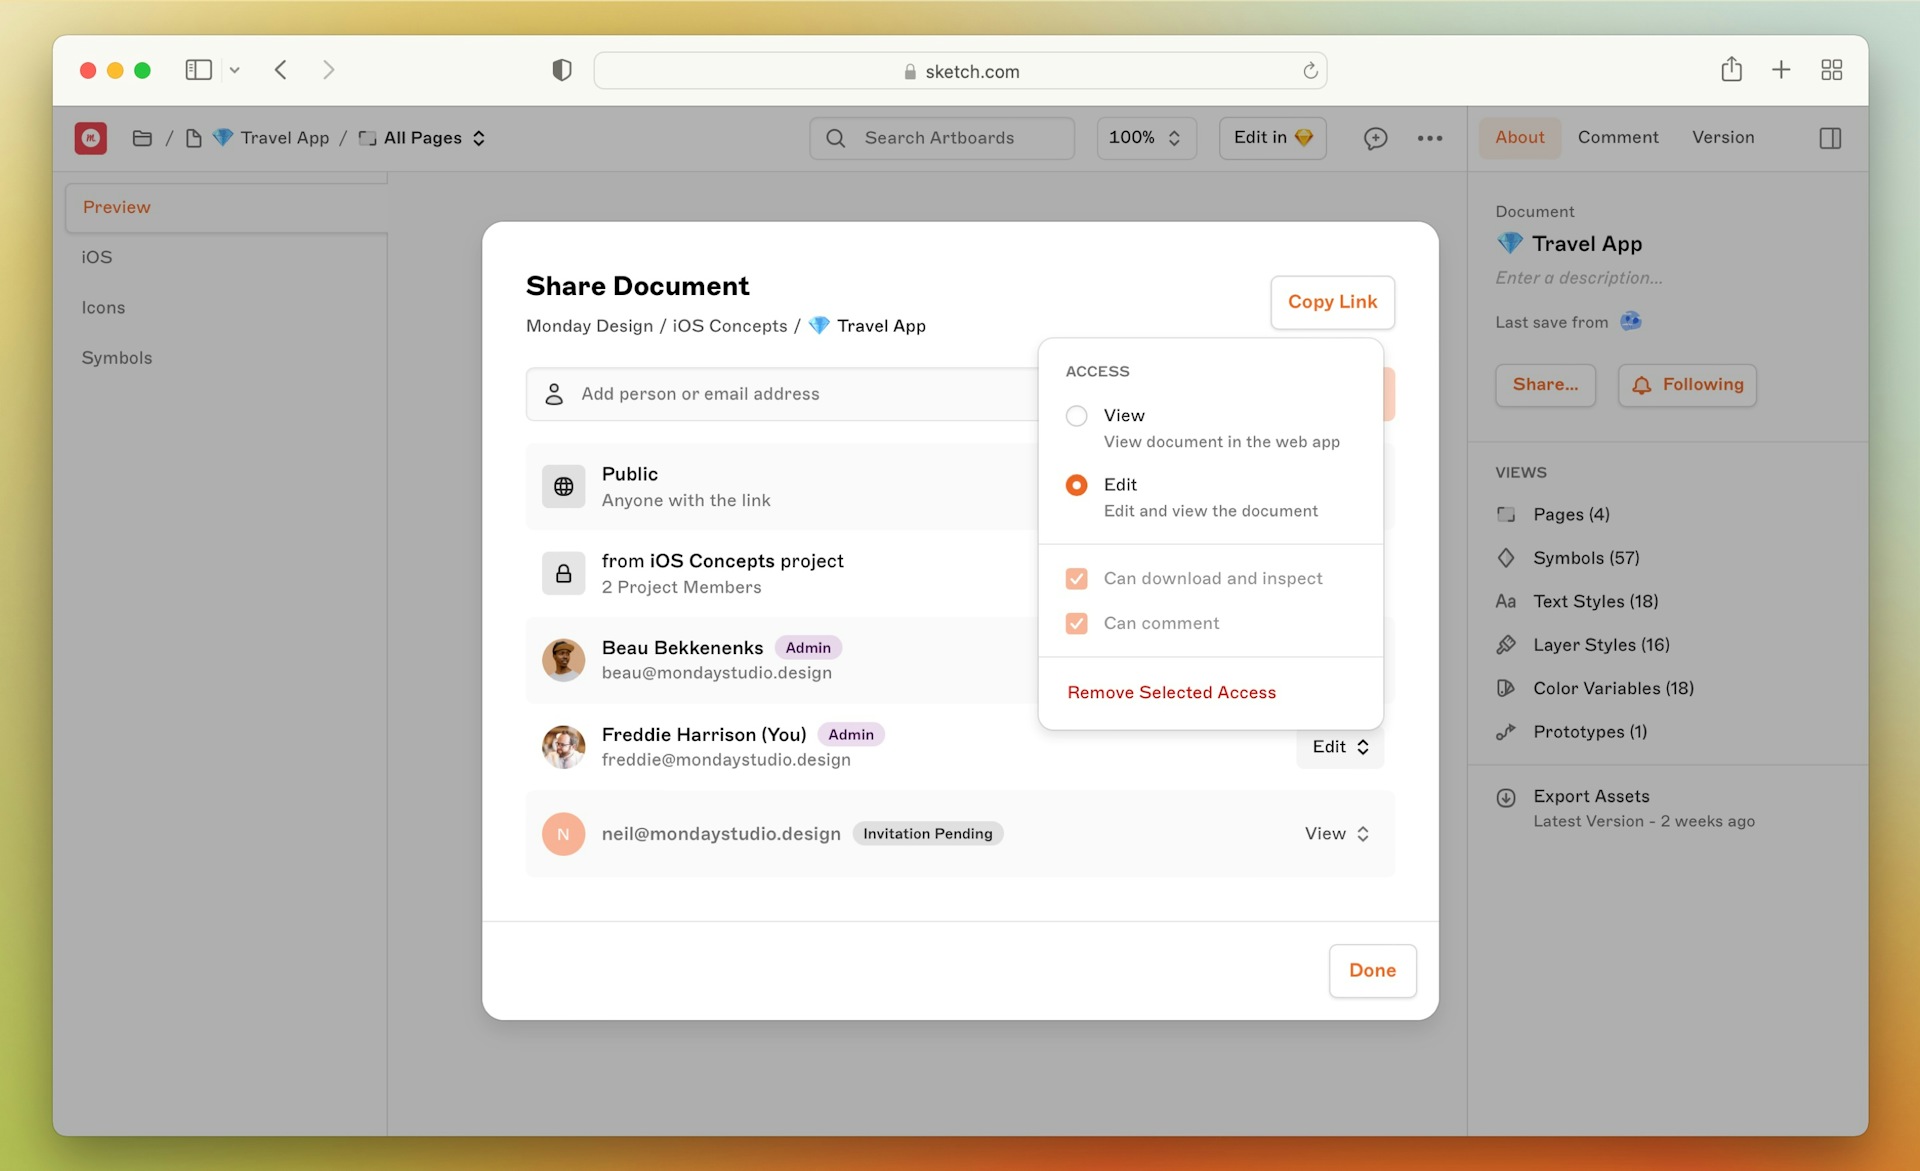
In your document’s share settings, you can add individual Workspace members and set specific edit rights, and restrict editing rights for everyone in your Workspace (or in a specific Project, if your document is part of a Project).
Here’s an example of how this works:

Restricting edit permissions for a document (July 2022)
- In this case, this document is not part of a project, so you’ll see the Workspace’s name listed below the public sharing options. If the document was part of a project, you’d see the Project name here, along with an indication of how many members are part of that project.
- Changing the Workspace’s access level from Default to View means Editors in your Workspace will no longer be able to edit this document.
- To give specific Editors the rights to edit this document, you’ll need to add them individually and set their access to Edit.
Alternatively, you can just remove editing permissions for specific people. Simply add their email addresses, and set their permissions to View. See Sharing Documents for more details.
You can downgrade an Admin user’s permissions to View if they don’t need or want to edit the document. However, Admins are the only people who can upgrade their own permissions from View to Edit.

Setting an Admins permission for a Workspace documents in the web app (July 2022)
As an Editor or Admin, you can restrict access to projects for other members in your Workspace in the Web app. To do so, open the project’s share settings and choose No Access from the drop-down menu next to the Workspace name.

Setting the permissions for a project in the web app (July 2022)
Note: If you are the author of a document and you downgrade your own permissions from Edit to View using the Manage Access section, you will no longer be able to edit the document, or change your permissions. Your Workspace admin will need to upgrade your access to restore your editing permissions.
